 Save
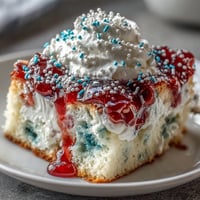
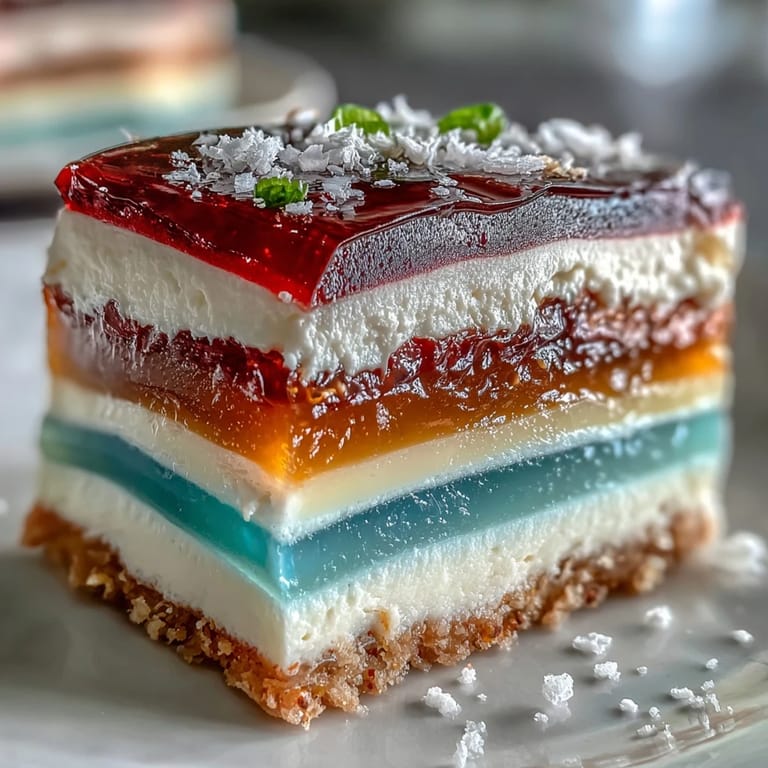
Save The first time I tackled a Rainbow Jelly Cake, my kitchen resembled an art class more than a prep space. The air was sweet with the faint aroma of vanilla and coconut, interrupted only by the playful sizzle of agar-agar dissolving into shimmering syrup. Colorful bowls lined my countertop, each promising its own vibrant stripe, and I found myself humming as layer by layer the cake took shape. Somewhere between the green and blue, a small splash painted my apron but I grinned—imperfections always feel like a badge of fun with this dessert. There’s a sunny joy to this cake that brings out everyone's inner child, mine included.
I brought this jelly cake to a brazenly sunny picnic last July and set it down amid the usual tupperware. People circled it with delight, asking if it tasted as magical as it looked. When the first wedge was lifted free, sunlight danced through the jelly stripes and someone laughed, saying it was almost too pretty to eat. That moment—the looks of surprise, the gleeful calls for seconds—cemented this dessert as my go-to for gatherings. Even the kids couldn&apost resist poking at the layers with their spoons, mesmerized by the colors.
Ingredients
- Agar-agar powder: It sets with a satisfying firmness, making your layers neat and never rubbery—just be sure to stir constantly so it melts fully.
- Granulated sugar: This sweetens each layer just enough to let the colors and coconut shine through; I once tried less and felt it lost a bit of sparkle.
- Water: Cool, filtered water gives you the cleanest, most vibrant jelly base and is essential for blooming your agar-agar properly.
- Food colorings: The fun of this cake comes from bold stripes, so don&apost be shy; natural colorings work beautifully if you&apove got them.
- Vanilla extract (optional): A hint of vanilla in the jelly base adds warmth and rounds out those fruity notes.
- Coconut cream: Rich and silky, coconut cream turns the final layer into a custardy finish that complements the jelly.
- Salt: Just a hint elevates the sweetness and balances the coconut&aposs richness.
Tired of Takeout? 🥡
Get 10 meals you can make faster than delivery arrives. Seriously.
One email. No spam. Unsubscribe anytime.
Instructions
- Simmer the agar base:
- In a medium saucepan, whisk together agar-agar powder and water over medium heat; listen for the gentle bubbling and wait for the grains to vanish as the liquid clears.
- Sweeten and flavor:
- Pour in sugar (and vanilla, if using), stirring until it dissolves completely—the steam will carry a delicate scent through the kitchen.
- Create colors:
- Divide the clear agar mixture into six bowls and add a few drops of different food colorings to each, swirling gently to avoid bubbles.
- Layer one by one:
- Start with the red jelly: pour, let set until just firm, then repeat carefully with each color, letting each new layer settle before pouring the next.
- Make the coconut cream:
- In a fresh saucepan, combine coconut cream, remaining agar-agar, and water; simmer and stir until velvety smooth, then add sugar and salt.
- Finish with coconut:
- Allow the coconut cream layer to cool briefly, then gently pour over the rainbow stripes without disturbing them.
- Chill until firm:
- Refrigerate the cake for at least an hour—it will become gorgeously glossy and ready to unmold.
- Release and slice:
- Use an offset spatula to loosen the edges and invert onto a serving plate, then slice into neat pieces and marvel at your striped masterpiece.
 Save
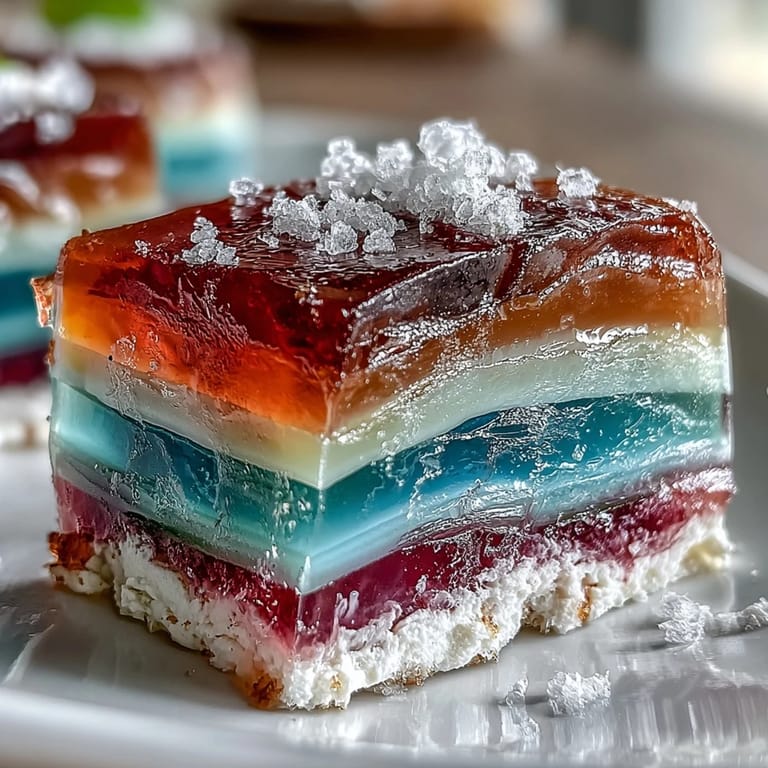
Save Watching my family’s faces as the cake wobbled center stage one summer evening made the whole process worthwhile. What began as a playful kitchen experiment somehow became our annual contest to see who could find the neatest rainbow slice—simple fun, pure happiness.
Layering Without Stress
The trickiest part is timing each jelly layer: too soon, and the next color seeps through; too late, and they won’t adhere. I keep a timer close and tap the surface gently with a finger—it should be set but still slightly sticky before the next pour. If a bit of color mixes, don’t worry; it adds its own charm. Layering is more forgiving than you might think, especially if you embrace the process rather than chase perfection. Your cake will be dazzling no matter what.
Choosing Your Mold
I’ve tried both rectangular and round molds, and each has its merits—round for a showy centerpiece, rectangular for easier slicing. Whatever you choose, line the bottom with a quick rinse of cold water before pouring in jelly to help with unmolding. If you don’t have a specialty mold, even a glass loaf pan works in a pinch. The most important thing is a flat surface for even layers. A cold plate under the mold can help the first layer set quickly.
Flavor Variations and Creative Touches
Infusing a few drops of pandan or rose extract into the jelly layers brings a subtle twist that feels downright luxurious. Sometimes I sprinkle a few edible flowers on the coconut cream while it’s cooling for extra sparkle. If you’re feeling bold, try swirling natural fruit purees into each color for extra flavor—and a little unpredictability in the marbling.
- Let the cake cool to room temperature before chilling for a more even texture.
- Store leftovers covered to keep the colors fresh and vibrant.
- Always double check your agar-agar is vegan if making for strict diets.
 Save
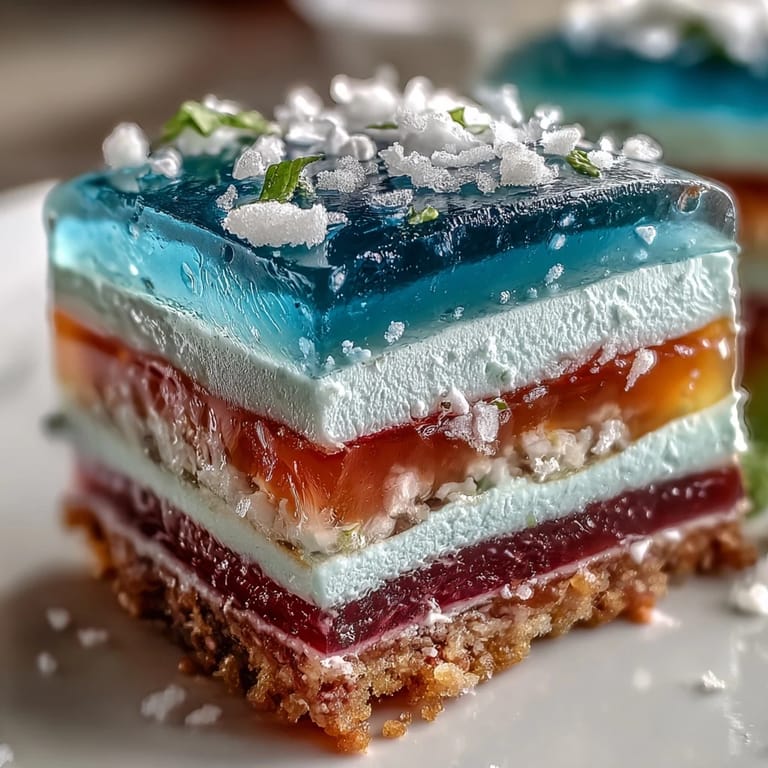
Save Rainbow Jelly Cake never fails to bring a burst of color and laughter to the table. Have fun layering, and let your creativity shine through every stripe.
Recipe Guide
- → Can I swap agar-agar for gelatin?
Agar-agar sets differently than gelatin: it firms more quickly and holds at room temperature. Gelatin can produce a softer, silkier set but is not plant-based. If substituting gelatin, reduce quantity and follow gelatin bloom instructions, and expect a slightly different texture and setting behavior.
- → How long should each colored layer set before adding the next?
Allow each layer to cool and become just set on the surface, typically 5–8 minutes depending on depth and room temperature. The layer should be firm enough to support the next pour but still slightly tacky to help adhesion between bands.
- → Any tips for getting clean, even layers?
Pour slowly against the inside of the mold or over the back of a spoon to avoid disturbing the previous layer. Keep the agar mixture warm but not boiling when tinting and work in small batches to maintain pourable consistency.
- → How should I store the finished cake?
Cover and refrigerate the chilled jelly for up to three days. Keep it away from strong odors and serve cold. For best texture, avoid long storage at room temperature, since coconut cream layers are best kept chilled.
- → Can I flavor the layers differently?
Yes. Add extracts like pandan or rose to the clear agar base before tinting, or infuse the cooking water with tea or citrus zest. Keep additions light so colors remain vivid and set is not affected by extra solids.
- → How do I get neat slices when serving?
Loosen the edges with a thin spatula, invert onto a plate, and refrigerate until very firm. Use a hot, sharp knife wiped between cuts for clean slices or chill and cut into cubes for neat portions.