Save
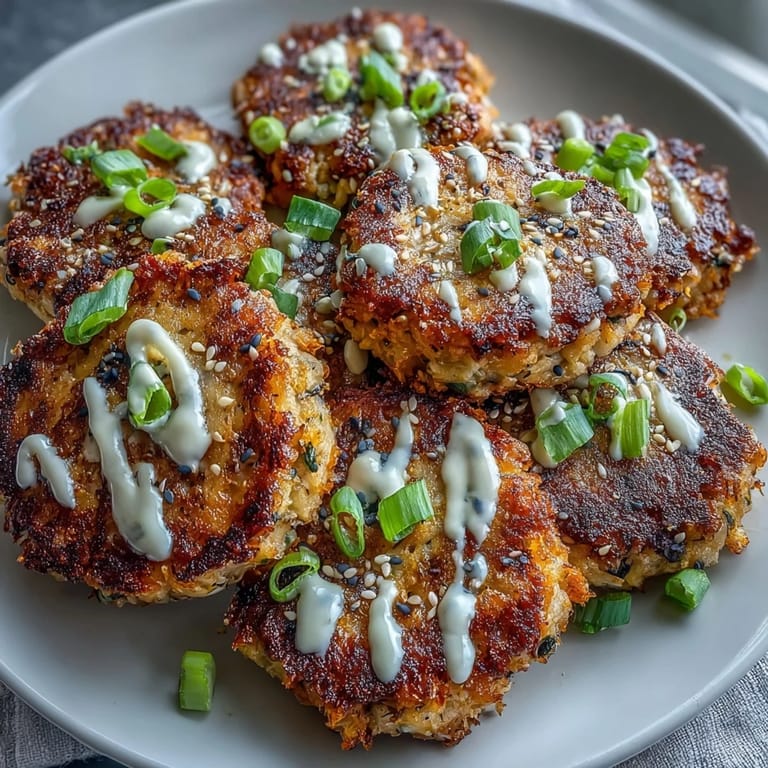
Save The first time I made these tuna cakes, my kitchen smelled like a tiny street food stall in Seoul. I had been craving something crispy and savory but wanted to use up those cans of tuna sitting in my pantry forever. The spicy mayo was an afterthought that became the real star. Now they are my go to when I need dinner fast but still want something that feels special.
Last summer my sister came over exhausted from work and I whipped these up without really thinking. She took one bite and demanded the recipe immediately. We ended up eating them standing at the counter while catching up, barely pausing between bites. That is the kind of food this is, the kind that pulls people into the kitchen and makes them stay.
Ingredients
- 2 cans white tuna in water: Drained well and flaked into small pieces so everything binds together beautifully
- 2 green onions: Finely chopped with whites and greens separated because the whites add flavor while greens make the prettiest garnish
- 1 large egg: The binder that holds everything together without making the mixture too heavy
- 1 tbsp soy sauce: Low sodium gives you control over the salt level while adding that essential umami depth
- 2 tbsp arrowroot powder: My secret for keeping cakes light, though flour works perfectly fine if that is what you have
- ¼ cup mayonnaise: Adds moisture and richness right inside the cake, not just as a topping
- 2 cloves garlic: Minced fresh because nothing compares to that sharp aromatic punch
- ½ cup breadcrumbs: Panko creates the best crunch but gluten free versions work beautifully too
- Salt and black pepper: Taste as you go because the soy sauce already brings salt to the party
- Avocado oil and sesame oil: A blend gives you high heat tolerance plus that nutty sesame fragrance
Tired of Takeout? 🥡
Get 10 meals you can make faster than delivery arrives. Seriously.
One email. No spam. Unsubscribe anytime.
Instructions
- Prep your ingredients like a pro:
- Chop those green onions and set aside the green tops for later. Pour your breadcrumbs into a shallow dish so coating becomes the easiest part of the whole process.
- Whisk up the spicy mayo first:
- Combine mayonnaise, lime juice, sriracha, salt and pepper in a small bowl. Let it hang out in the fridge while everything else happens because the flavors need that time to become friends.
- Mix the tuna cake base:
- Grab a large bowl and dump in the flaked tuna, white parts of green onions, egg, soy sauce, arrowroot, mayonnaise, garlic, salt and pepper. Mix until everything is evenly distributed and the mixture actually holds together when you squeeze it.
- Shape and coat those patties:
- Form the mixture into nine small patties, about two inches across. Press each one gently into the breadcrumbs, turning to coat both sides.
- Fry until golden and perfect:
- Heat your skillet over medium heat with a blend of avocado and sesame oil. Cook the cakes in batches, two minutes per side, until they are golden and crispy. Let them drain on paper towels for just a moment.
- Bring it all together:
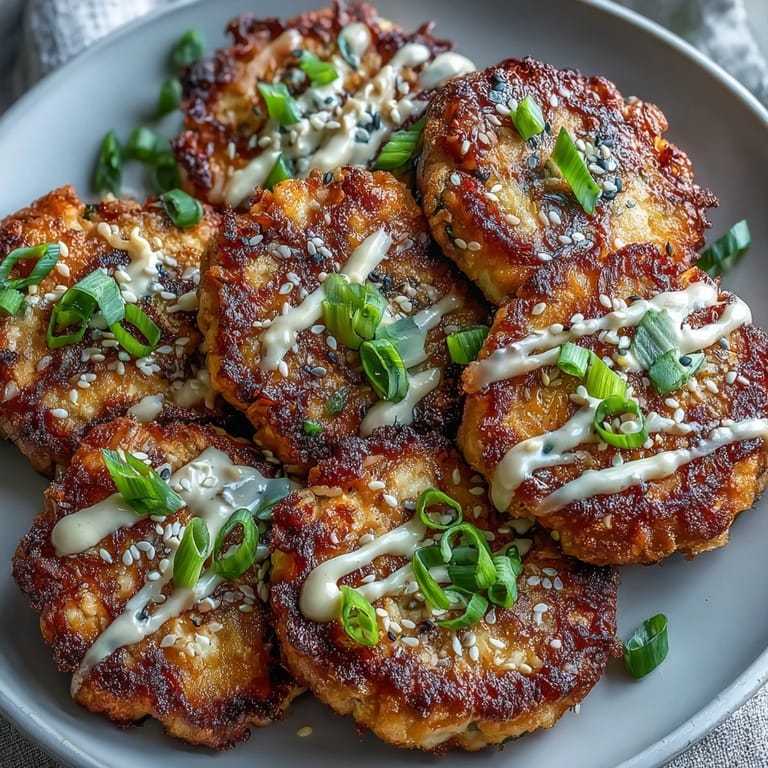
- Arrange the cakes on a platter and drizzle that spicy mayo all over. Scatter the reserved green onions and sesame seeds on top like you are plating in a restaurant.
 Save
Save These tuna cakes have become my answer to everything. Late dinner, unexpected guests, or just a Tuesday when I need something that feels like a treat. There is something so satisfying about turning humble canned fish into something crispy and golden and utterly delicious.
Making Ahead and Storing
I often double the recipe and freeze uncooked patties between parchment paper. They cook up beautifully from frozen, just add a couple extra minutes per side. The spicy mayo keeps for a week in the fridge, so you can have the sauce ready to go.
Serving Ideas That Work
Sometimes I tuck these into lettuce cups for a lighter meal. Other times they go over steamed rice with extra spicy mayo drizzled everywhere. My favorite might be in a bowl with Asian slaw, the cool crunch against the hot crispy cakes.
Getting the Best Texture
The breadcrumb coating makes all the difference. I have learned to toast panko lightly in a dry pan before coating, which gives these extra crunch that stays crispy even after they have cooled down a bit.
- Use a light touch when shaping, pressing just enough to hold together
- Let the cakes rest for a minute after cooking before serving
- Reheat leftovers in a skillet, never the microwave, to preserve that crunch
 Save
Save These tuna cakes started as a pantry cleanup experiment and became one of those recipes I make on repeat. Hope they find their way into your regular rotation too.
Recipe Guide
- → Can I use fresh tuna instead of canned?
Yes, you can use fresh tuna. Cook and flake about 12 ounces of fresh tuna, then let it cool completely before mixing with the other ingredients. Canned tuna works exceptionally well though and keeps the preparation quick and budget-friendly.
- → How do I store leftover tuna cakes?
Store cooked tuna cakes in an airtight container in the refrigerator for up to 3 days. Reheat in a skillet over medium heat for 3-4 minutes to restore crispiness, or warm in a 350°F oven for 8-10 minutes. Uncooked patties can be frozen between parchment layers for up to 2 months.
- → Can I bake these instead of frying?
Absolutely. Place coated patties on a parchment-lined baking sheet and brush lightly with oil. Bake at 400°F for 12-15 minutes, flipping halfway through, until golden and crispy. They may be slightly less crunchy than pan-fried but still delicious.
- → What can I serve with these tuna cakes?
These pair beautifully with steamed jasmine rice, Asian slaw, or wrapped in butter lettuce leaves for a lighter option. They also work well in grain bowls with pickled vegetables, cucumber, and extra spicy mayo drizzled over the top.
- → Can I make the spicy mayo less spicy?
Yes, simply reduce the sriracha to ½ teaspoon or omit it entirely for a plain creamy mayo. You can also substitute with sweet chili sauce for a different flavor profile, or add wasabi paste for a Japanese-inspired kick.
- → Why does the mixture include mayonnaise?
The mayonnaise inside the mixture keeps the tuna cakes moist and tender while they cook. It also acts as a binder alongside the egg and arrowroot, helping the patties hold their shape during frying. This technique ensures the cakes don't dry out even with the high-heat cooking method.